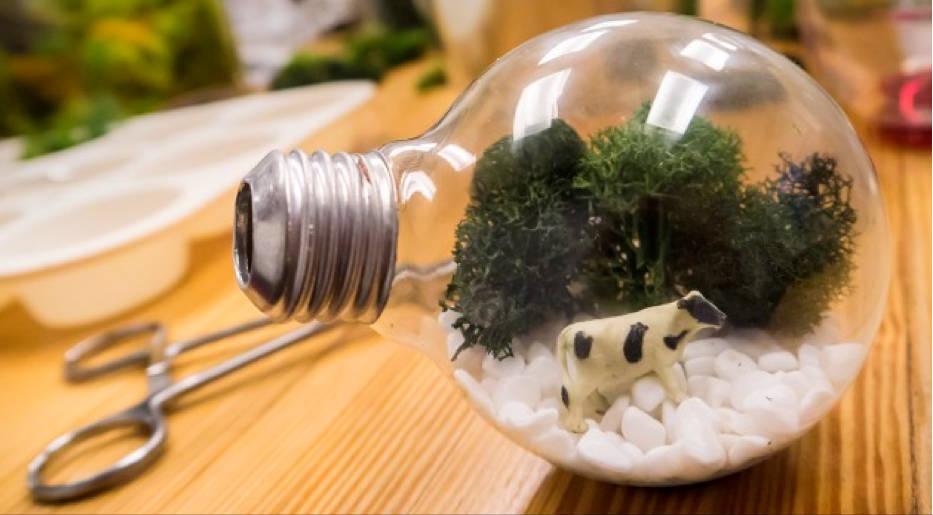
If you’re thinking about throwing away your burnt-out incandescent light bulbs, it might be time to think again. Instead of throwing them away, why not turn them into decorative planters? This project is a creative and sustainable way to repurpose the glass bulbs from your light bulbs and bring a touch of greenery to your home. Let’s explore how you can do it, step by step.

Necessary Materials
Before you begin, you'll need a few materials to ensure your project is safe and successful:
- Burnt out incandescent bulb
- Sand
- Artificial moss
- Plant seedling (preferably a plant that doesn't need a lot of water)
- Pliers
- Flat head screw
- Clamp
- Rubber gloves
- Safety glasses
- Bowl or cardboard box
These items are essential to ensure the safety and effectiveness of the process of transforming bulbs into vases.
Preparing the Workspace
To begin, it is important to prepare your workspace properly. Place a cardboard box or piece of paper underneath to catch any glass debris that may fall out during the process. Wear rubber gloves and safety glasses to avoid accidents from broken glass. Make sure your workspace is well-ventilated to ensure that you can work comfortably.
Removing the Metal Part of the Lamp
Start by removing the metal tip from the bulb. Use the pliers to pull the metal tip from the bottom of the bulb. This step can be a little tricky, but with patience, you will be able to remove the metal piece. Once removed, the process becomes a little easier.
Extracting the Black Glass Core
The next step is to remove the black glass core, which is one of the most challenging parts of the process. Use the pliers to crush the black glass and carefully pull it out of the bulb. This step may take a few minutes, so don’t rush it. It’s important to remove the core completely to ensure that the vase is clean and ready for the next step.
Removing the Inner Part of the Lamp
Once you’ve removed the black glass, you’ll need to remove the “guts” of the bulb. To do this, insert a flat-blade screwdriver into the bulb and bend the handle downwards, pulling slowly. It’s crucial to be firm and careful not to break the remaining glass. This step prepares the bulb to receive the sand and the plant.
Setting up the Terrarium
With the bulb clean, you can start assembling your terrarium. First, add some sand to the bottom of the bulb, about three or four tablespoons, depending on the size of your pot. The sand acts as a base and helps the water drain. Then, add the plant cutting using the tweezers. Choose a plant that doesn’t need a lot of water, as the environment inside the bulb can be limited.
To ensure the success of your terrarium, consider the following tips:
- Use sand or small stones for the base of the terrarium.
- Opt for air plants that don’t need a lot of water.
- Avoid live moss, as it is too demanding to survive in this environment. Use preserved moss instead.
- Do not use regular soil, as it may not drain properly and cause problems for the plant.
- Keep the terrarium in a well-lit place, avoiding darkness, which can harm the plant's growth.
Creative and Sustainable Ideas
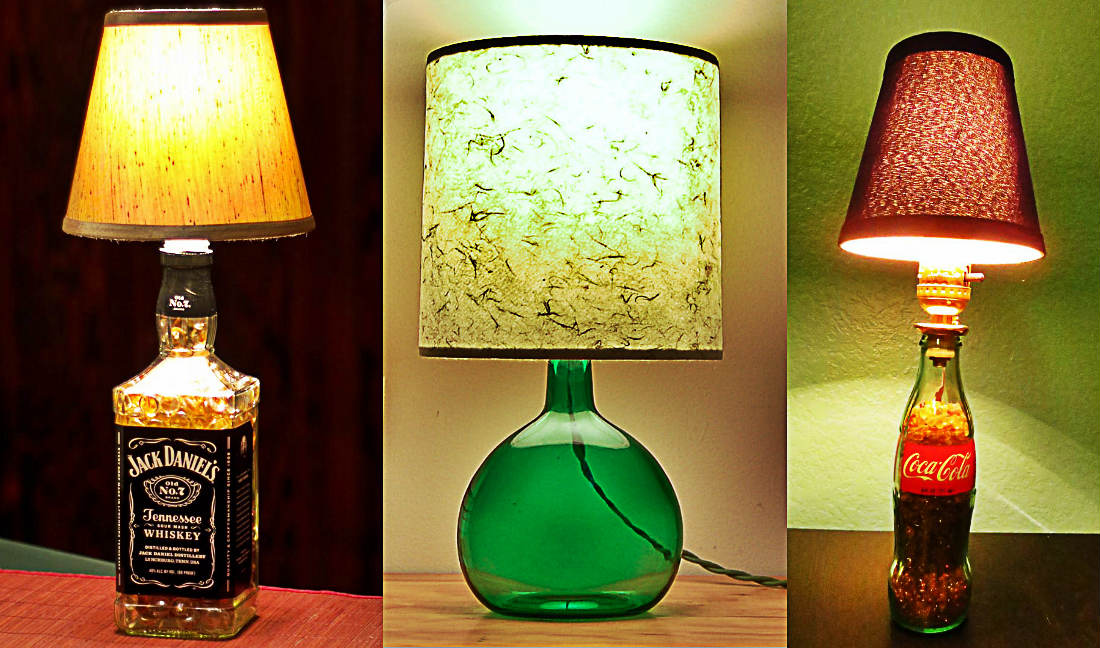
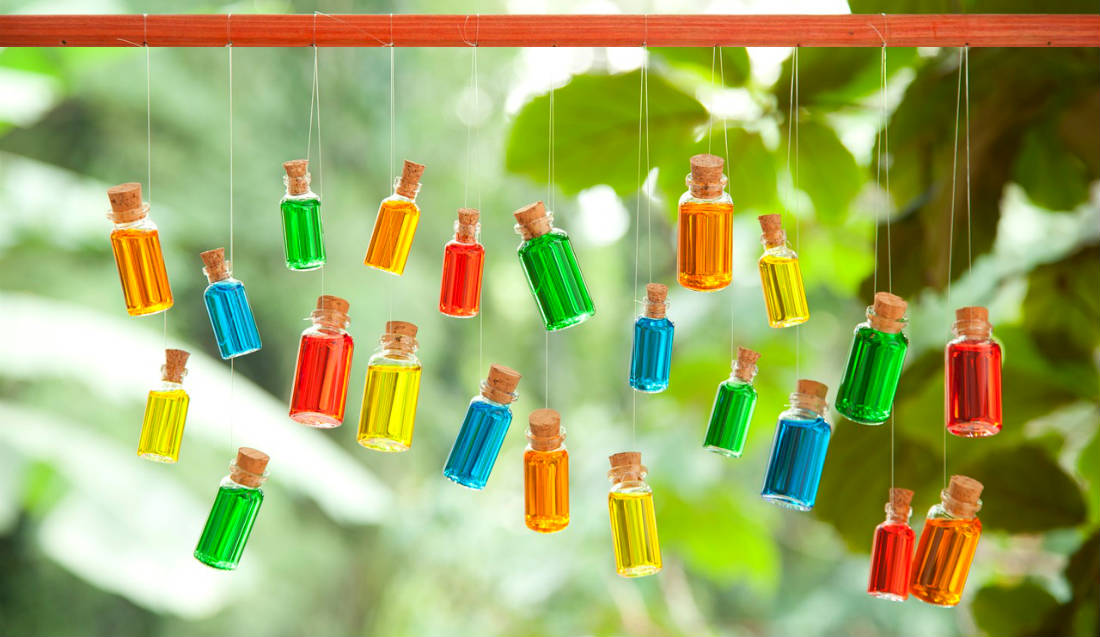
Creating planters from recycled light bulbs is just one of the many ways to repurpose old materials. Sustainability can be fun and creative. In addition to creating planters, you can explore other recycling projects to transform everyday objects into useful and decorative items.
For example, the agency LOS11 created recycled gifts for the presentation of a monograph, highlighting the importance of sustainability and creativity in the reuse of materials. These examples show how recycling can be integrated into various aspects of everyday life.
Explore Other Recycling Ideas
If you’re interested in more recycling ideas, don’t stop here. There are many other ways to turn old items into new and interesting projects. If you’re wondering what to do with fluorescent light bulbs, we have an amazing and simple idea that you can check out by clicking here.
Learn how to make other arts by recycling, Click here.
Check out interesting facts about recycling clicking here.


